Camera scanning: best quality per pound
Photographing the negative with a digital camera and a macro lens, lit from behind. It has quietly become the standard approach among people who scan a lot of film, and for good reason.
Resolution is limited by your camera rather than a scanner's optics, so a 24-megapixel body comfortably out-resolves most consumer flatbeds. It's also dramatically faster: a roll takes minutes rather than an hour.
You need a macro lens capable of 1:1, a light source with high colour accuracy, and something to hold the negative flat and parallel to the sensor. The holder matters more than people expect; a negative that isn't flat produces softness you'll blame on the lens.
Cost varies enormously depending on what you already own. If you have a digital body, a used macro lens and a decent light panel is the whole outlay.
Flatbed scanners: convenient, soft
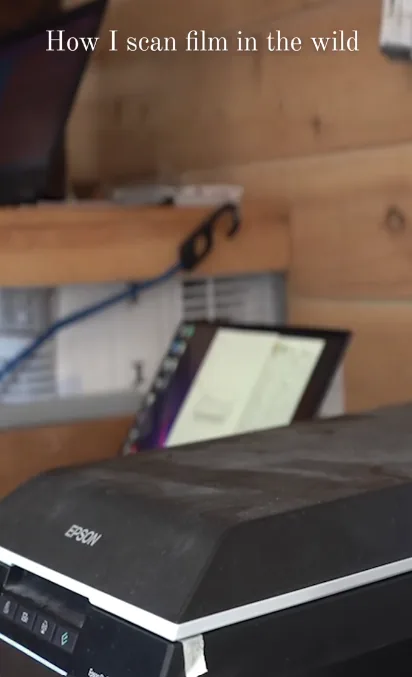
An Epson V600 or V850 with the supplied film holders. This is what most people buy first and it works, with one significant caveat.
The optical resolution is far below the advertised numbers. A flatbed claiming 6400 dpi typically resolves somewhere around 1600–2300 dpi in practice, which is fine for 35mm at web sizes and a real limitation for large prints.
Where flatbeds genuinely win is medium and large format. A 6x7 negative has so much more area that the resolution shortfall stops mattering, and holding larger film flat is easier.
They're also slow. A roll of 35mm at reasonable settings is an evening, which is the thing that stops most people scanning their own film.
Dedicated film scanners
Plustek for 35mm, or older Nikon Coolscan units on the second-hand market. Genuinely higher resolution than a flatbed and built for the job.
Plustek units are frame-by-frame and slow: plan on a couple of minutes per frame including handling. For a photographer shooting a roll a month that's fine; for anything more it becomes the reason your film sits unscanned.
Coolscans are excellent and increasingly expensive, with the added risk that they're twenty-year-old hardware with driver problems on modern systems.
Worth it if you shoot 35mm exclusively and want quality without assembling a camera scanning setup.
The part nobody warns you about: conversion
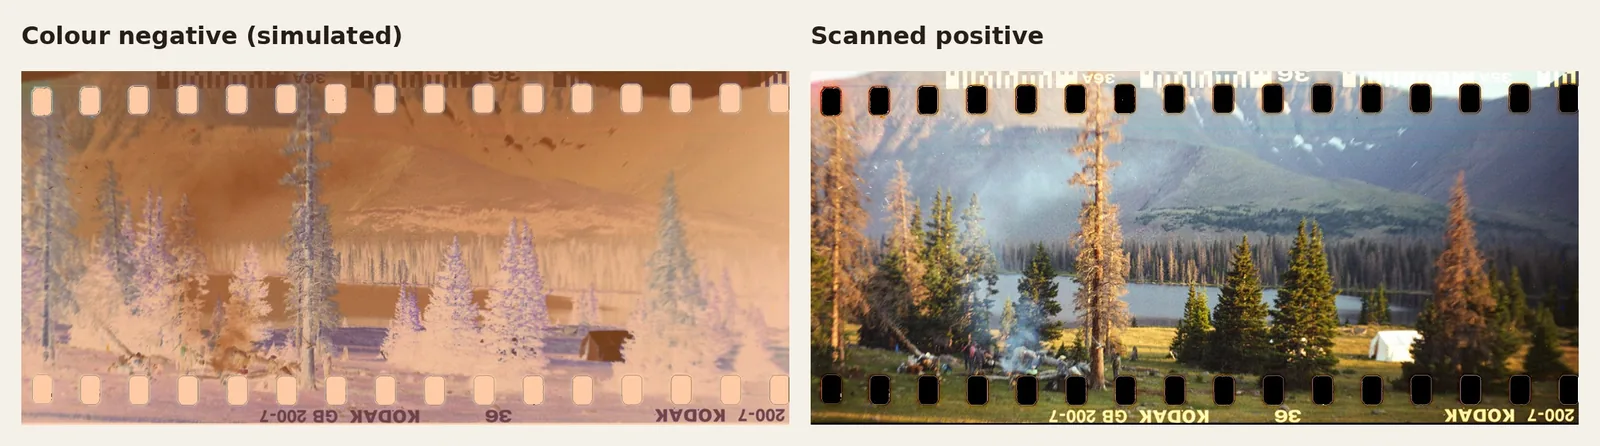
A colour negative isn't just an inverted positive. The orange mask has to be removed, and doing that correctly is the hard part of the whole process.
Simply inverting in Photoshop gives you the cyan-heavy, muddy result everyone gets on their first attempt. The mask density varies by film stock and by exposure, so there is no single correction that works.
Dedicated conversion software, Negative Lab Pro is the common choice, handles this properly and is the single biggest quality improvement available to anyone scanning at home. Black and white avoids the problem entirely, which is one reason it's an easier place to start.
This is also why the same negative looks different from two labs. Conversion involves genuine interpretive choices about colour balance and contrast, and every lab makes them differently.
Practical things that matter more than gear
Dust. It's the whole battle. An air blower before every frame, and negatives stored in sleeves rather than loose. Cloning dust out afterwards is slow, joyless work you can mostly avoid.
Flatness. Curled negatives scan soft at the edges regardless of what you're scanning with. Storing them under a book for a day before scanning genuinely helps.
Consistency. Scan a whole roll with the same settings before adjusting anything, so you have a baseline to judge changes against.
And scan for the negative you have rather than the photograph you wanted. Recovering a badly exposed frame is a different job from scanning a good one, and mixing the two produces a roll that doesn't hang together.
What I'd actually recommend
If you already own a digital camera: camera scanning. Best quality, fastest workflow, and the money goes into a macro lens you'll keep.
If you don't, and you shoot medium format: a flatbed. The resolution limitation matters least there and the holders are easier to work with.
If you shoot 35mm only and don't want a camera setup: a Plustek, accepting the speed.
And whichever route, budget for conversion software. The scanner determines how much detail you capture; the conversion determines whether the photograph looks like anything.
Common questions
Is camera scanning better than a flatbed?
For 35mm, generally yes: resolution is limited by your camera rather than the scanner's optics, and it's far faster. For medium and large format the gap narrows considerably.
Do I need Negative Lab Pro?
For colour negatives, it's the single biggest quality improvement available. Inverting manually gives the muddy cyan result most people get first time, because removing the orange mask correctly is genuinely difficult. Black and white doesn't need it.
What's the real resolution of an Epson V600?
Well below the advertised figure. Independent testing generally puts consumer flatbeds around 1600–2300 dpi actual optical resolution regardless of the number on the box.
How long does scanning a roll take?
Camera scanning: minutes. A flatbed at reasonable settings: an evening. A Plustek: a couple of minutes per frame plus handling.
Why do my scans look different from the lab's?
Because conversion is interpretive. Removing the orange mask and setting colour balance involves choices, and every lab and every piece of software makes them differently. Neither is wrong.